How to Use Stage Manager on Mac

Apple’s new Stage Manager feature makes it first appearance in macOS Ventura. Learn how to use Stage Manager on Mac in this guide.
For a company that prides itself on great design and usability, multitasking on a Mac has always felt a little bit disappointing.
Up until recently, if you were using more than one window on Mac, you basically had three options. You could keep them all open on one screen, you could minimize unused windows to the Dock or you could use Mission Control to create different desktops and switch back and forth between them.
None of these options are ideal and none really feel, well, Apple. The introduction of Split Screen made multitasking a little better, but it still wasn’t the best solution if you were using multiple windows.
Stage Manager, which is also available on iPadOS 15, represents a new attempt to make working with multiple windows more intuitive, and it does feel like a major step forward. If you want to know how to use Stage Manager on Mac, follow the steps below.
What is Stage Manager?
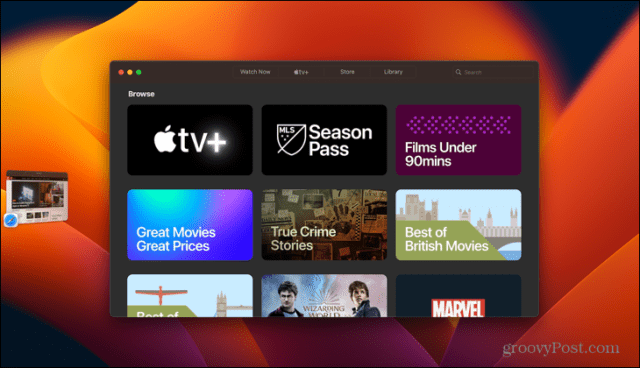
Stage Manager is a multitasking feature for Mac and iPad that places thumbnails of your open windows at the side of the screen while keeping one or more windows ‘center stage’ in the majority of your screen.
The thumbnails update so you can keep an eye on any changes to those windows without having to open them. Clicking one of the thumbnail windows or opening a new app moves it to center stage, while the current window becomes a thumbnail. You can also create groups of multiple windows that can be opened with a single click.
How to Turn Stage Manager On and Off
Before you can start using Stage Manager, you’ll need to learn how to turn it on and off. That’s because the feature is not enabled by default.
You can turn Stage Manager on or off in System Settings or via the Control Center.
To turn Stage Manager on and off in System Settings on Mac:
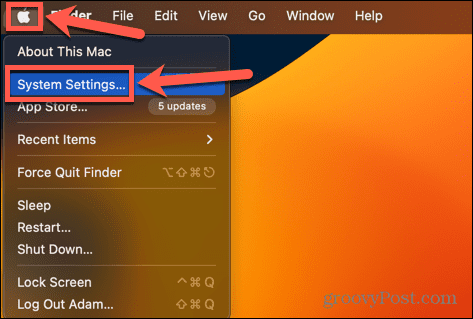
- Click the Apple icon and select System Settings.

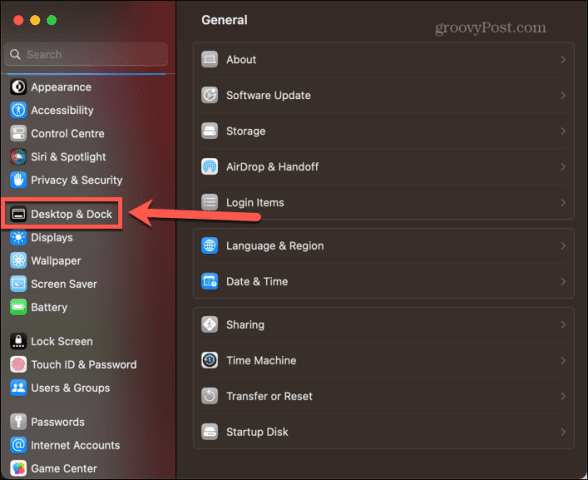
- In the left-hand menu, scroll down and click Desktop & Dock.

- Under Windows & Apps, toggle Stage Manager on.


To turn Stage Manager on and off in Control Center:
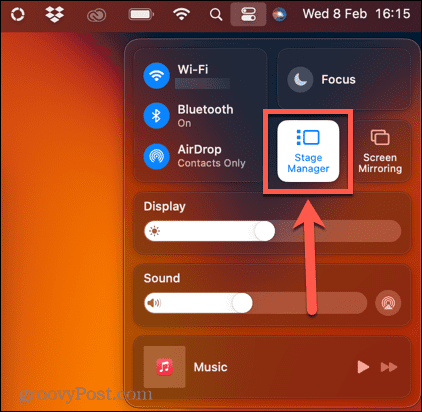
- Click the Control Center icon in the menu bar.

- Locate the Stage Manager icon. If it is white, Stage Manager is active. If it is gray, Stage Manager is not active.
- Click the icon to toggle between states.


How to Use Stage Manager on Mac
Once Stage Manager is turned on, you can start using it. You may already see some thumbnail windows at the side of the screen. Stage Manager allows you to switch between individual app windows, but you can also use it with multiple windows from the same app or create groups of apps that open and close together.
How to Use Stage Manager with Single Apps
If you want to use a single app at a time in Stage Manager, it’s simple to switch back and forth between the current app and those stored in Stage Manager.
To work with single apps in Stage Manager on Mac:
- Open any application. Ensure that it’s not in full screen mode, as any full-screen windows won’t appear in Stage Manager.
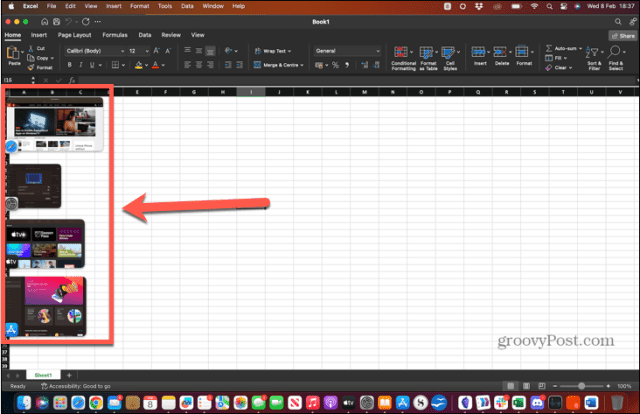
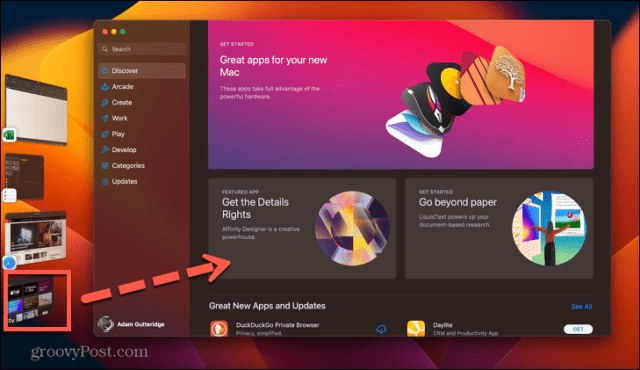
- Open another application. This app will now appear center stage. The first application will appear as a thumbnail to the left of the screen.

- To switch back to the original application, click on the thumbnail and the two apps will switch places.

- Opening more apps will add more thumbnails to Stage Manager. You can have up to six, depending on the size of your screen.
- If you open more than the maximum for your computer, older thumbnails will reappear as you close more recent ones.
- You can also move an app to the side by minimizing it—it will appear in the Stage Manager rather than the dock.
- If you want your app to use the entire screen, instead of clicking the green button, drag the borders of your app window to resize it until it takes up the whole screen.

- To see the other apps in Stage Manager, move your pointer to the very left of the screen. The thumbnails will now appear, and you can use Stage Manager as usual.

- When you click on a thumbnail that you had previously resized to fit the whole screen, it will reappear in this same size.


How to Use Stage Manager with Multiple Apps and Groups
You can also use Stage Manager to manage multiple windows of the same app or to group apps together so that they open at the same time.
To use Stage Manager with multiple apps:
- If you open multiple windows of the same app (such as several Word documents, for example) then these will appear in the same thumbnail.

- By default, clicking this thumbnail will open each of the windows one at a time, leaving the others in Stage Manager. It’s possible to change this behavior so that clicking the thumbnail opens all of that app’s windows at once, as explained in the next section.
- If you want to use more than one app at a time, you can create a group of windows that will act like a single thumbnail in a similar way to a group of windows for the same app.
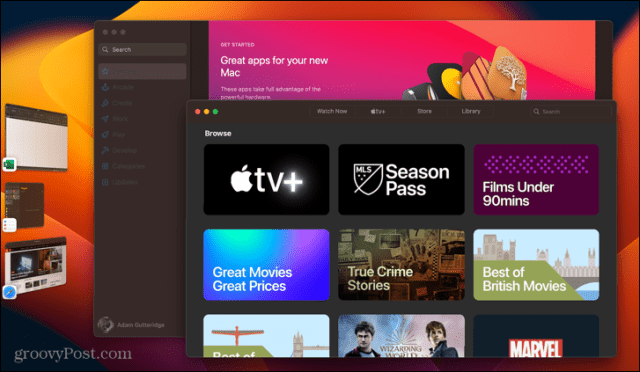
- To do so, open the first app you want in your group, then open the second. The first app will move into Stage Manager.
- Click and hold this thumbnail and drag it into the main window alongside your second app. Alternatively, you can hold down Shift as you click the thumbnail.

- Both apps will now appear center stage. You can rearrange them or resize them, but don’t put them in Split Screen mode, as this will remove them from Stage Manager.

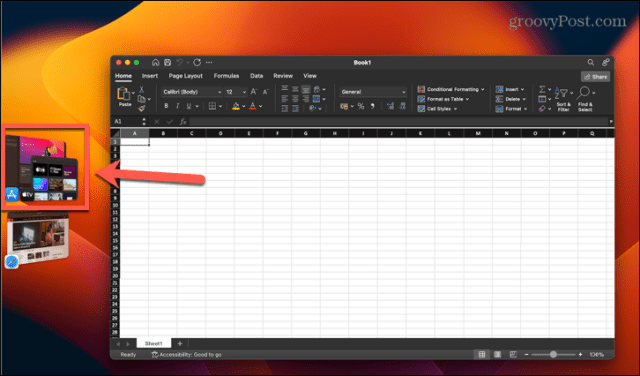
- When you open another app or group from Stage Manager, your new group will appear as a single thumbnail.

- When you click this thumbnail, both apps will open in the same positions as you set them up before.
- To remove an app from a group, drag it left into the Stage Manager, or hold down Shift and click the app window you want to remove.
- If you want to drag files or folders from a center stage app to one that is in the Stage Manager sidebar, drag them over the appropriate thumbnail until that thumbnail moves to center stage. You can then drop the files as usual.
- If there are apps that you don’t want to appear in Stage Manager, press Cmd+H when that app is center stage. The app window will be hidden and won’t be visible in Stage Manager. To open the app again, click its icon in the Dock.

How to Change Stage Manager Settings on Mac
Stage Manager only has a few settings to choose from on your Mac, but these settings have quite significant effects.
To change Stage Manager settings:
- Click the Apple icon and select System Settings.
- In the menu at the left, scroll down and click Desktop & Dock.
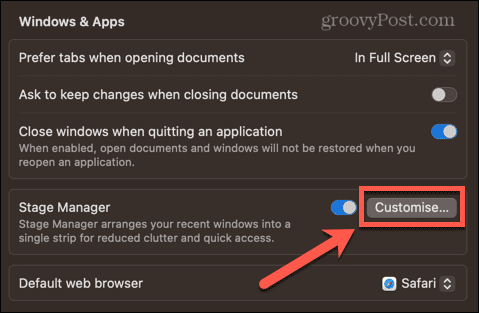
- Under Windows & Apps, click the Customize button next to the Stage Manager toggle switch.
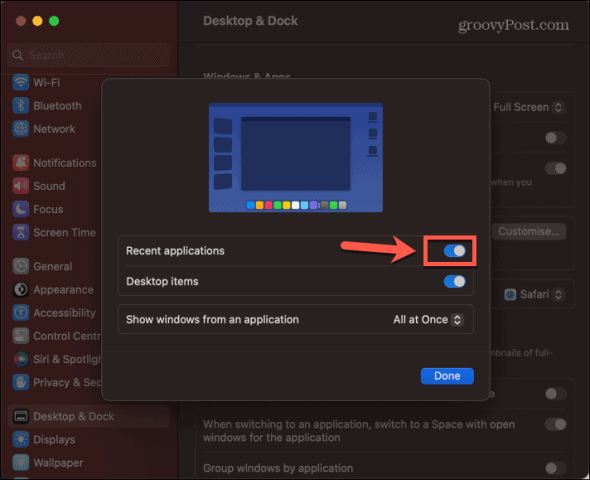
- Recent Applications puts your most recently used apps at the side of the screen. If you turn this off, they won’t appear until you move your pointer to the very left of the screen.

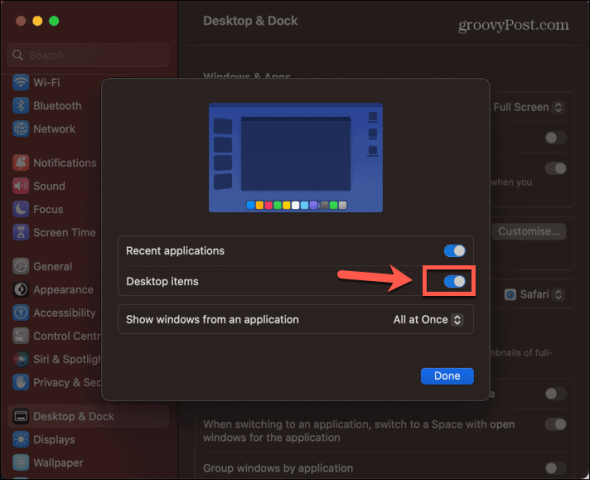
- Desktop Items determines whether the files and folders on your desktop are visible when Stage Manager is on.
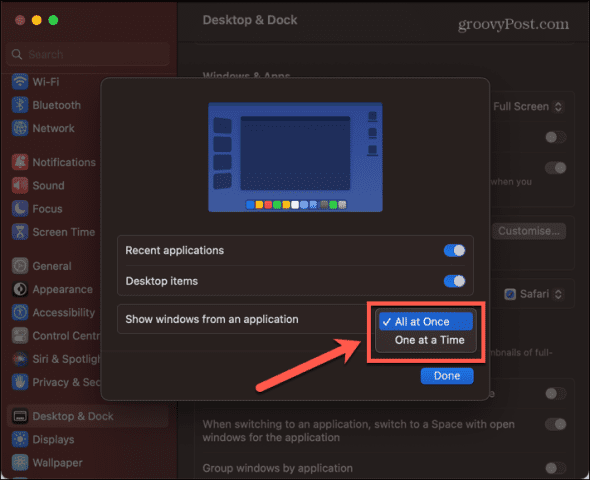
- Show Windows From an Application changes the behavior when dealing with multiple windows for the same app.
- All At Once opens all windows at the same time when you click the thumbnail for that app.
- One At A Time opens one window each time you click the thumbnail.
More Multitasking Must-Haves on Mac
Learning how to use Stage Manager on Mac can help you to spend more time using your apps and less time trying to find where they’ve gone. It’s a decent step forward in usability for Macs and works nicely on iPad too.
There are plenty of other multitasking tips and tricks that can make your Mac time a little more productive. You can learn how to use split screen on Mac or use Mission Control Spaces to create your ideal desktops. Or you can try out some of the many productivity apps for Mac to work smarter, not harder.