How to Move Columns in Excel

Moving columns in Excel can help you reorganize your data and make it easier to read. Learn the steps needed to rearrange your Excel columns in this guide.
Do you need to rearrange your data in Excel? You may want to move columns to a different position on your spreadsheet.
Moving columns can help you organize your data better, compare different values, or create charts and graphs using specific parts of your dataset.
There are several ways to move columns in Excel—we’ll show you three simple methods you can use below.
How to Move a Column in Excel Using Drag and Drop
The simplest way to move a column in Excel is to drag and drop it into a new location on the spreadsheet. You can also cut and move, copy and move, or insert and move using your mouse.
These steps will work using Excel on a PC or a Mac.
To move a column in Excel using drag and drop:
- Open your Excel spreadsheet.
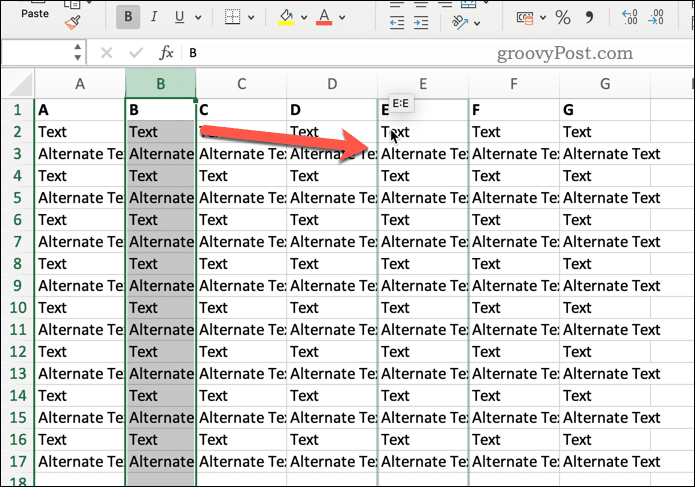
- Select the column you want to move by clicking on its column letter in the header bar.
- Hover your cursor over the border of the selected column until the mouse cursor changes.

- Hold down the left mouse button and drag the column to where you want it.
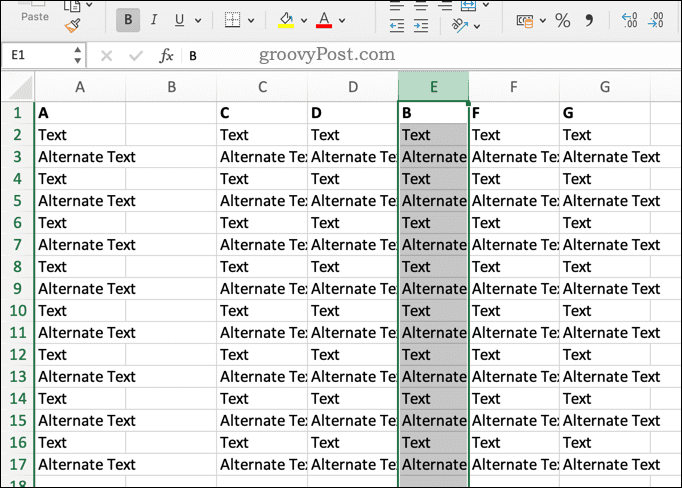
- Release the mouse button when you see a green outline around the destination.

Depending on how you drag the column, you’ll achieve slightly different results:
- If you drag the column over another column without holding any keys, you’ll overwrite that column with your data (and you’ll need to accept this decision).
- If you hold down Ctrl (Windows) or Option (macOS) while dragging the column, you’ll copy it instead of moving it.
- If you hold down Shift while dragging it, you’ll insert the column between existing columns without overwriting anything.
How to Overwrite a Column by Cutting and Pasting It
Another way to move a column in Excel is to cut and paste it using keyboard shortcuts or commands. This will overwrite any existing data in that column.
These steps will work for Excel users on a PC or a Mac.
To move and overwrite a column in Excel using cut and paste:
- Open your Excel spreadsheet.
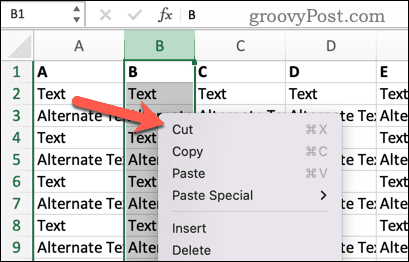
- Select the column you want to move by clicking on its letter on the header bar.

- Press Ctrl + X (Windows) or Command + X (macOS) to cut the data in the column. Alternatively, click Cut on the Home tab on the ribbon bar, or right-click and select Cut.

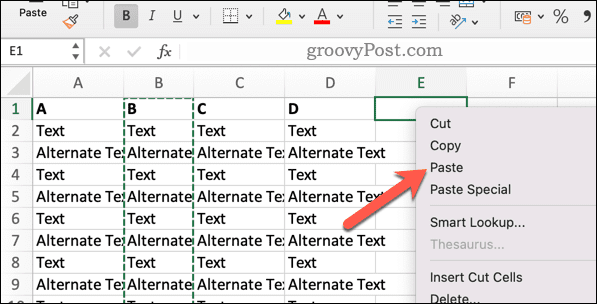
- Click on any cell where you want to paste the data.
- Press Ctrl + V (Windows) or Command + V (macOS) to paste the data. Alternatively, click Paste on the ribbon bar, or right-click and select Paste.


This method will overwrite any existing data in that location.
How to Insert a New Column by Cutting and Pasting It
If you don’t want to overwrite the existing data, use another command called Insert Cut Cells instead. This will insert a new column without overwriting the existing one.
To move and insert a column in Excel using cut and paste:
- Open your spreadsheet.
- Select the column you want to move by clicking on its heading letter at the top.
- Right-click on any cell where you want to paste the data.
- Select Insert Cut Cells from the menu.

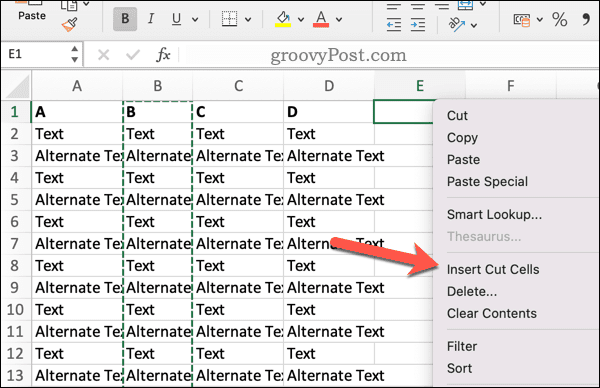
This method will insert the cut cells between existing columns without overwriting anything.
How to Insert a Cut Column Using the Ribbon Bar
The third way to move a column in Excel is like cutting and pasting, but using tools on the ribbon bar instead.
While the screenshots below show how to do this on Mac, the same steps should work on Windows (using similar icons).
To insert a cut column using the ribbon bar:
- Open your Excel spreadsheet.
- Select the column you want to move by clicking on its letter at the top.
- On the ribbon bar, click the Home tab and click Cut.

- Select any cell where you want to paste the data (being mindful that the cells beneath it will be overwritten).
- Go back to the Home tab and click Paste.


This will insert the cut cells into your spreadsheet.
Managing Your Data in Excel
Moving columns in Excel isn’t a difficult task. Whether you want to drag and drop, cut and paste, or insert cut cells, you can easily rearrange your data in Excel using one of the steps above.
Want to take things further? You can use the custom sort feature in Excel to help you narrow down certain parts of your data. You might want to count unique values in a large Excel data set to help you track down problems. It might be worth searching for duplicates next, too.
New to Excel? Don’t forget to try some Excel keyboard shortcuts to help speed up your workflow next.


