How to Maximize Battery Life with the New Power Throttling Feature in Windows 10

There’s a new battery saver function in Windows 10 called Power Throttling and it helps you get more out of your most used apps. Learn how to set it up.
There’s a new battery saver function in Windows 10 starting with the Fall Creators Update. It’s called Power Throttling and it works by automatically detecting which apps are important to you and which ones can use the CPU “more efficiently” in the background. The intended result is that you get a little more juice out of your battery without sacrificing your ability to multitask on the go. This was mentioned in our top 25 new features in Windows 10 1709, and it’s enabled automatically. But if you’d like to see Power Throttling in action and perhaps tweak it a bit, read on.
Use Power Throttling to Optimize Performance of Battery Life in Windows 10
Power Throttling will automatically be enabled when you install Windows 10 Fall Creators Update, as long as you have a supported CPU. As of now, that includes Intel 6th and 7th generation processors such as Skylake and Kaby Lake. Microsoft plans to expand support to other processors in the future.
So, how can you tell if it’s working?
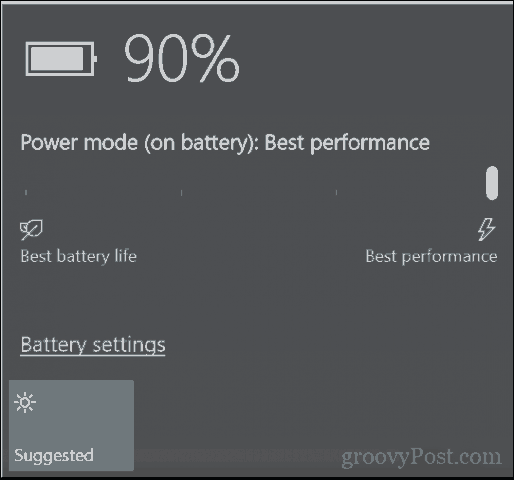
The first place to look is your Taskbar Notification Area. When you are on battery power, you’ll notice a power slider when you click the battery in the taskbar. There are four modes: Battery Saver, Better Battery, Better Performance, and Best Performance. Battery Saver has the greatest power throttling effect. Best Performance disables it. Plugging in your computer to a power source also disables power throttling.
That’s all there is to it.
How to See Which Apps Are Being Power Throttled
If you’re curious, you can see which apps are being impacted by Power Throttling by adding the Power Throttling column to Task Manager. This is helpful if you think Power Throttling is causing performance issues or interfering with notifications or other background processes.
Press Windows key + X then click Task Manager. Select the Details tab, right-click a column, then click Select Columns.

Scroll down, select Power Throttling then click OK.

In Task Manager, you will see the Power Throttling status for each app. All my apps display Disabled – partly because I am not using a supported CPU. Some apps will display enabled when you switch between them or minimize them. Power Throttling is really an autopilot feature, it’s not really intended to be modified. Windows 10 does all the work to determine which apps it believes might be exhausting CPU resources.

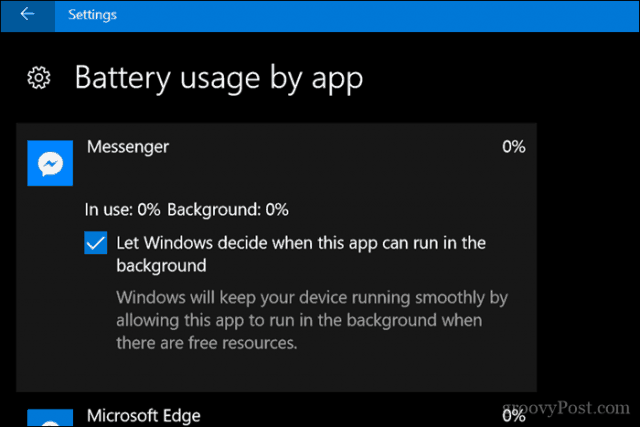
If you notice that power throttling is having unwanted affects on your applications, you can disable Power Throttling for it on a case basis. We covered this in our previous article regarding receiving notifications in Windows 10 while on Battery power. This can also affect which apps get throttled by Windows 10.
That’s about all you can do with Power Throttling. It’s meant to be an auto-pilot feature that works intelligently in the background. Your mileage may vary—let us know if you find it useful!
Have you upgraded to Windows 10 1709 and are you taking advantage of its new features and functions? We’d love to hear your thoughts in the comments.


George
November 1, 2017 at 10:27 am
Is this not the same with the suspension feature? I’ve noticed a bunch of apps in my task manager that appear as suspended instead of running.