How to Change Margins in Google Docs

A4 documents are simple to create, but you can create all kinds of documents for printing in Google Docs by changing the margins. Here’s how.
Margins are important in a document, especially if you’re trying to determine how a document will look when you print it.
If you’re looking to set up your Google Docs document a little differently, you may want to adjust the sizes of the page margins, whether its for a single paragraph or across your entire document. While it’s certainly helpful for printing, it can also help to improve how your page layout looks, especially if you have a lot of text to contend with.
Thankfully, Google Docs makes it easy to change the margins of your document. Here’s what you’ll need to do.
Setting Margins for Individual Paragraphs
If you just want to change the margins for a single paragraph, you’ll need to first open your Google Docs document.
With the document, click to place your blinking cursor inside the paragraph you’re looking to edit. Beneath the menu bar at the top, you should see a ruler—this is used for setting the page margins.

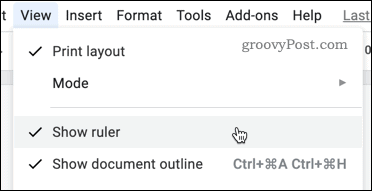
If you can’t see this ruler, click View > Show ruler to display it.
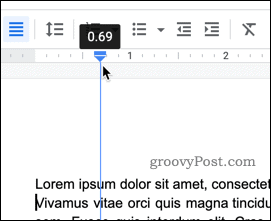
On the ruler, you will see two triangles that show the current margins for your document.

To change the magic, click on the triangle on the left-hand side and drag it to a new position. As you move it, you should see a value showing the size of the margin in inches.
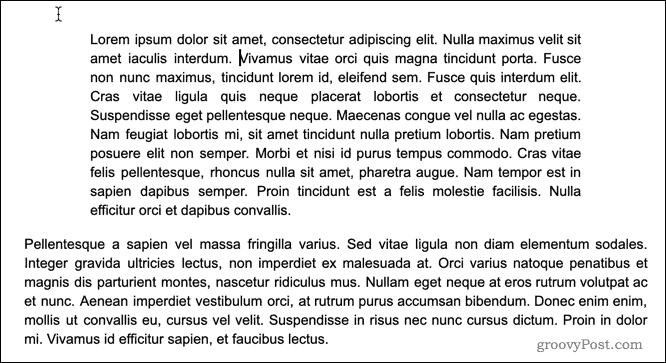
Repeat the same steps for the margin on the right. The margins used by the paragraph should be changed, with the remainder of the document maintaining the previous margin settings.
Setting Margins for the Entire Document Using the Rulers
If you want to change the margins for your entire document, you have two options. The first is to use the ruler below the menu bar.
To start, highlight all of the text in your document (press Ctrl+A on your keyboard to quickly do this). With the text highlighted, follow the same steps as above to move your margins—move the triangles on both sides of the menu bar to set the left and right-hand margins for your entire document.
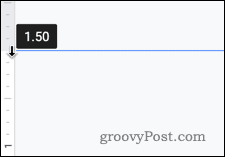
To edit the top and bottom margins, you can use the ruler shown on the left-hand side of the screen. Click the ruler where the color changes from gray to white.
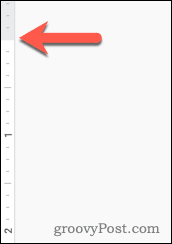
As with the left and right-hand margins, drag the margin to its new position. You should see a value showing the size of the margin in inches appear as you drag.
Repeat these steps with the bottom margin.

With the changes complete, you should see your updated margins applied to each page of your Google Docs document.
Setting Margins for the Entire Document with Page Setup
If you already know the size of the margins you want, you can use Google Doc’s Page Setup menu to enter these values directly.
To do this, click File > Page setup from the menu bar.

In the Page setup settings menu, enter the values for each of your margins.

You can set these margin settings as the default for each document you create. If you want to do this, click Set as default to confirm.

Click the OK button to save.

Once saved, the margins should update to reflect your chosen measurements immediately.
Advanced Google Docs Formatting
By setting the margins in Google Docs, you can change your pages to look exactly how you want them to look. While this is great for printing, it can also help if you need to steal more space on your pages for text or images.
There are other ways you can format your Google Docs document to create more advanced styles of documents. Academic documents will look better with double spacing applied, but you could also think about separating text into columns to make your text stand out in less formal documents.
Experimentation is key—Google Docs isn’t just a basic word processor, with features that make it a serious contender to the Office crown, so use it to create documents that really make an impression on your audience.


