How to Add Supports to Your 3D Prints in Cura
If you’re getting started with 3D printing, you might be frustrated with figuring out how to build supports in Cura. Here’s what you need to know.
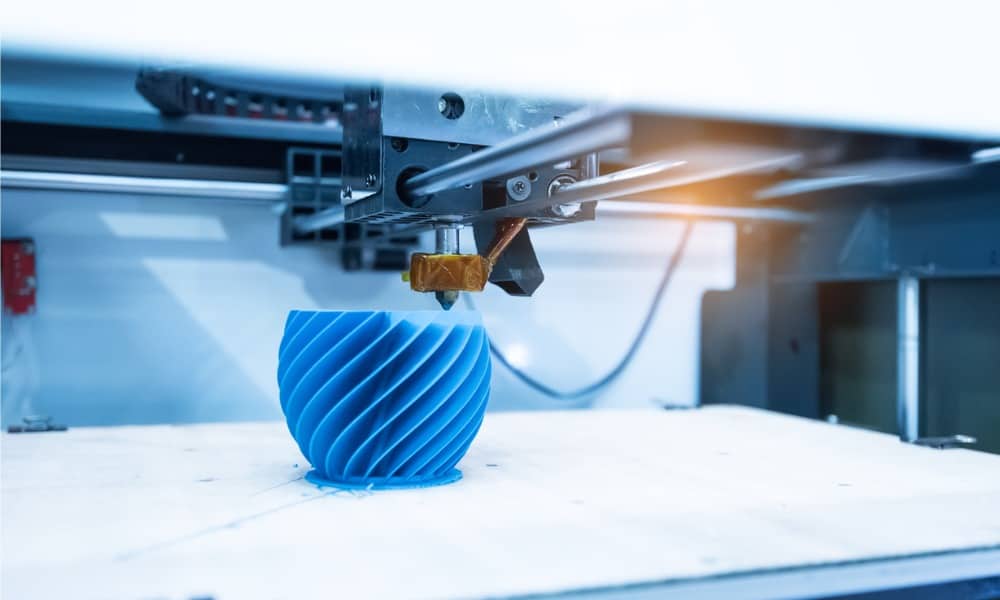
When I first started 3D printing, there was one extremely frustrating aspect of it. That was watching my models collapse under their own weight. I could see that I needed more support in places until the extruded material cooled and hardened. However, it took me a few tries to figure out how to make that happen. So, let me walk you through how to add the supports you need to your 3D prints in Cura.
Getting to Know Your 3D Printing Software is Essential
UltiMaker Cura is one of the most popular tools for 3D printing. It’s free, easy to use, and available for just about any computer operating system you prefer. This includes Windows, macOS, and Linux. Cura offers a powerful, open-source slicing engine, but it’s important to understand how to make the most of it.
Cura does offer recommended profiles that have gone through thousands of hours of testing. Still, these don’t always encompass every scenario you might encounter. For example, while the software does include a profile for my 3D printer, it doesn’t recognize the filament material I use.
That’s perfectly fine once you get used to the tools available. UtiliMaker has built in a custom mode to Cura that allows you to tweak any combination of more than 400 settings. This allows the software to offer the ultimate selection in granular control when preparing your slices to print.
Helping Your 3D Prints Hold Up While Cooling
The beauty and the beast behind 3D printing is heat. The plastic filament becomes extremely malleable when heated. Therein lies a potential problem: gravity will make that heated plastic bend in ways you may not want.
That’s why it’s so important to build in the proper supports for those places that need to remain straight despite the effects of gravity. Once your piece has finished printing and cooled, you just use snips or a razor blade to gently cut away those supports.
Figuring out exactly how to most effectively place supports is best left to the software. However, novices might not see immediately how to do that. I confess it wasn’t until my buddy Ryker showed me that I got the hang of it.
How to Add Supports in Cura for 3D Printing
- In the Cura software, load your 3D model file. Then click the control panel interface on the right, near the top of the window.

- Under Support, make sure the toggle is on (blue). Generate Support is selected.

- If you want to customize the support settings, click Show Custom and make sure Generate Support is selected.

- Configure Support Structure, Support Placement, and all other settings are picked to be the optimum choices for your project.

- Click Slice to allow the software to generate the support structure.


Once that’s complete, you can transfer your build file to your 3D printer to begin building.
Other Things to Know About Support in 3D Printing
You probably noticed different options for generating the support structure for your 3D print job. Depending on how small your pieces are and how horizontal they need to be printed, some options will be better for different types of jobs than others.
All About the Normal Support Structure
In Cura, the normal support setting will generate supports directly below your 3D model. This way, any overhanging sections of your model will have the vertical support they need not to bend or droop while the material is still cooling off.

Normal support structure in Cura. The aquamarine portions are supports generated to help the model retain its shape until cooled.
The main benefit of normal support in Cura is you can be almost completely certain every part of your model will retain its shape. Unfortunately, that also could use a lot of extra filament and leave you with a lot more material to trim and cut away.
Generating a Tree to Support Your 3D Print Job
On the other hand, you can also generate a tree structure of supports for your 3D model. Instead of building supports in a straight line from the build plate, this generates a tree-like structure to support your models.

With the Tree Support option, the support structure for your model branches out and around your model rather than printing straight down.
In this way, supports are hollow and wrap around your model to provide support where necessary. This can have the advantage of using less filament while still providing the support your pieces need.
The drawback to using tree support is, as noted by the developers, the system just hasn’t been fully tested. Tree support does not offer profile-specific parameters, so you may need to fine-tune the settings to your particular 3D printer, material, and size of the job.
Placement: Touching Build Plate vs Everywhere
While you can change this setting from the default (Everywhere) to Touching Build Plate, the precise design of your 3D model might make this a poor choice. Here’s why.
With Placement set to Everywhere, the support material will be printed below every part that needs it. This allows for support to be placed on or inside a model, using another part of the model as a base for that support.

On the other hand, if you change the setting to Touching Build Plate, Cura will only print support material from the build plate up. If you have a complex model, pieces of your print may obstruct the structure from being generated.
Making the Most of Your 3D Printer Without Multiple Reprints
As I was getting to know the ins and outs of 3D printing, I had to completely reprint several jobs. The biggest contributor to this was not building enough supports for overhanging pieces.
As I got more knowledgeable about how to get Cura to generate a better support structure for me, this has become much less of a problem. It may make for more cleanup work later, removing the supports and smoothing the 3D print, but it definitely saves time and material. There’s nothing quite like getting it right the first time.


