How to Map a Network Drive on a Mac

Running out of Mac storage? Why not consider using a network drive to store your important files? This guide will show you how to connect to one on a Mac.
Running out of storage on your Mac? You might find it easier to switch to using a network attached storage (NAS) drive for your important files.
A network drive allows you to keep large or important files off your Mac’s hard drive. This frees up space for other things, but you’ll need to know how to connect to it over your network.
Mac supports the common networking protocols used for NAS drives, making it easy to connect to them. If you’re unsure how to map a network drive on a Mac, follow our steps below.
How to Map a Network Drive on a Mac Using Finder
The quickest way to map a network drive is to use the Finder app. This method will create a temporary connection to your network drive. It won’t remain in place after you restart your Mac, however.
macOS supports Samba (SMB) network shares. This is a common file-sharing protocol used on Windows, Mac, and (to a lesser extent) Linux. Due to its cross-platform support, it’s quite likely that your network drive uses Samba for network file sharing, and this guide will assume as such.
To map a network drive on a Mac using Finder:
- Open the Finder app from your Dock or Launchpad.
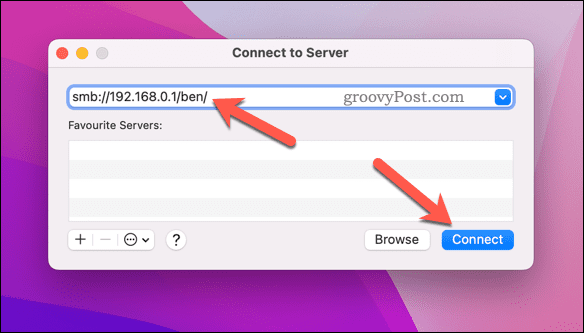
- In Finder, press Go > Connect to Server from the menu bar.

- Type smb:// followed by your NAS drive IP address/hostname and folder (eg. smb://192.168.0.2/ or smb://192.168.0.2/files or smb://nas-drive.local/files)
- Press Connect.

- If prompted, type in the correct username and password to connect to your network drive and press OK.

If you authenticate correctly, you should be able to view your network drive in the left menu in Finder.
How to Automatically Connect to a Network Drive on a Mac
The steps above allow you to connect to a network share, but the share is only temporary. Your Mac won’t reconnect automatically to the network share when you restart, for example.
You’ll need to configure your Mac to automatically connect to your network drive when you log in. This will ensure you always have access to your network files in Finder (as long as you’re connected to the same network).
Before completing these steps, follow the steps above to map your network drive and connect to it via Finder.
To automatically connect to a network drive on a Mac:
- Press the Apple logo > System Preferences from the menu bar.

- In System Preferences, select Users & Groups.

- Press the lock icon in the bottom-left and sign in, if required.
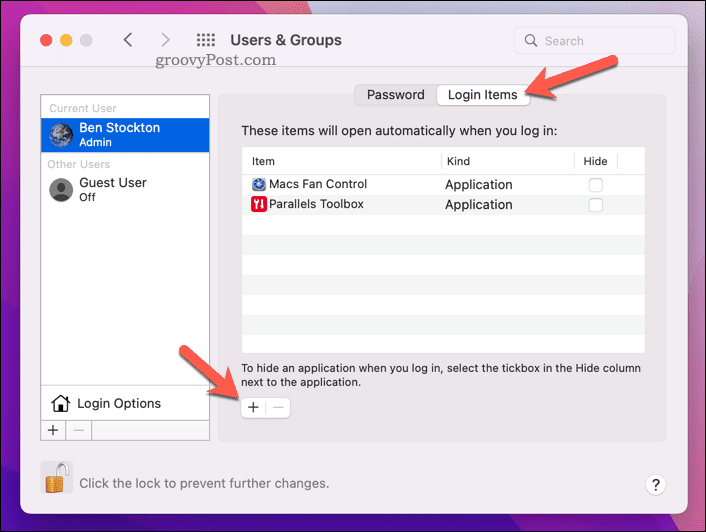
- Select your username on the right, then press Login Items.
- Press the add (+) icon.

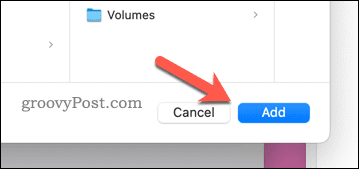
- Select your network drive (or a folder within it) and press Add.

- Follow any additional on-screen instructions to complete the process.


Better Storage Solutions on a Mac
By following the steps above, you can quickly map a network drive on a Mac. This will free up your disk space for other things.
If you’re always running out of space, you might want to think about configuring your Mac to free up storage automatically. You can also securely wipe the free space on your Mac if you’re worried about your privacy.
You can also securely delete important Mac files to maintain your data privacy.