How to Add Rows and Columns to a Table in Word

For customization, you can add rows and columns to a Microsoft Word document. To do so, follow these instructions to add tablets.
Microsoft Word probably isn’t the first thing you think of when you need to work with a spreadsheet. For that, you’d turn to Microsoft Excel. And yet, you can still add columns and rows to a table in a Word document. Here’s how to do it.
Add Rows and Columns: Create a Table
The first step in adding rows and columns in a Word document is to create a table. To get started:
- Start Microsoft Word.
- Bring up the document you want to use.
- Put your pointer in the location where you want to add a table.
- Choose Insert > Table on the Word ribbon.
- Use the chart in the pull-down menu to add rows and columns.

Once the table is created, you can add data.
Adding Rows
After you’ve created a table in a Word document, you may have to add a new row. You can do this by putting your cursor into the last cell in the table, then click Tab on your keyboard. To add more rows, repeat.

Deleting Rows
You can also delete rows and columns in your table by pressing the Delete key. To do so, select a row or column in the table, then use the Delete key. You can also choose the Delete button in the options box, then select Delete Row. You can also select Delete Cell, Delete Column, and Delete Table using the same button.

Deleting Columns
It’s also possible to delete columns similarly. First, select the entire column you wish to delete, then hit the Delete key on your keyboard.

Other Options
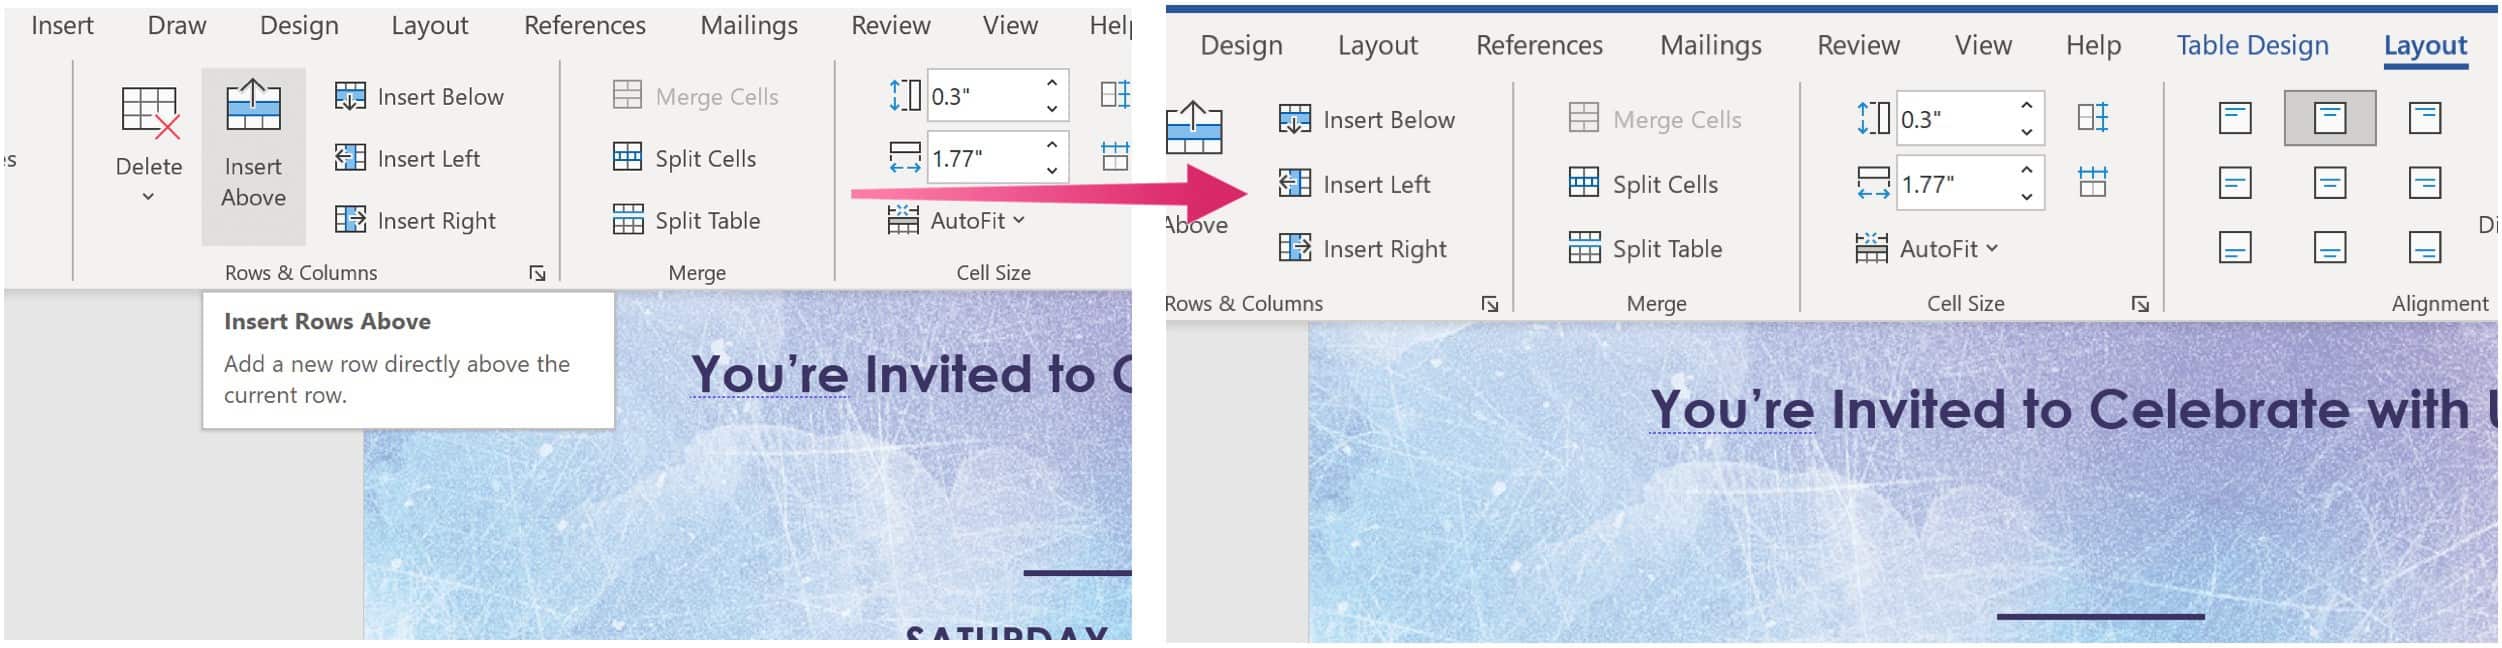
With your cursor in the table, you can perform additional steps using the Word ribbon menu. First, be sure to select the second Layout option on the menu. From there, choose Rows & Columns and select from the following options.
With Insert Above, a row above the current cell gets created, just as Insert Below adds a new row immediately after the active cell. Insert Right makes a new column to the right of the cell, while Insert Left does the opposite.
More With Microsoft Word
Not surprisingly, there’s a lot more you can do with Word, even with tables, including changing the formatting. You can also use an Outline View when you’re working with large documents and insert animated GIFs, among other tasks.
You can find Microsoft Word inside the Microsoft 365 suite. For home use, the Microsoft 365 suite (formerly O365) is currently available in three varieties, including a Family, Personal, and Home & Student plan. Price-wise, the first is $100 per year (or $10/month) and includes Word, Excel, PowerPoint, OneNote, and Outlook for Mac. Membership covers up to six users. The Personal version is for one individual and is $70/year or $6.99 per month. Finally, the student plan is a one-time purchase of $150 and includes Word, Excel, and PowerPoint.
Business users can select from Basic, Standard, and Premium plans, starting at $5 per user/month.