How to Take a Screenshot of Only One Monitor in Windows 11

If you’re using multiple monitors taking a screenshot can be tricky. Here’s how to take a screenshot of only one monitor in Windows 11.
We don’t yet live in the world promised to us by the Tom Cruise movie Minority Report, where our computers are giant screens that we can manipulate with hand gestures (although that future does appear a little closer thanks to the launch of the Vision Pro).
The closest most of us can get right now is to have multiple monitors displaying different apps and windows all visible at the same time.
Usually, a multiple monitor setup makes life easier, but that’s not the case when it comes to taking screenshots. That’s because when you try to capture a screenshot of your desktop, it will include everything displayed on all of your monitors. What if you only want to capture a screenshot of one specific display? It’s harder than you might think. Don’t worry, though, we’ve got you covered. Here’s how to take a screenshot of only one monitor in Windows 11.
How to Take a Screenshot of One Monitor in Windows Using the Snipping Tool
The Snipping Tool in Windows 11 gives you several ways to capture a screenshot. One of those methods allows you to drag out the area that you wish to capture. Using this method in Windows 11, you can select the entirety of one monitor to take your screenshot. The Snipping Tool will then take a screenshot of only that selected area, ignoring whatever is currently displayed on any other monitors.
- Open the Snipping Tool with the keyboard shortcut Win+Shift+S.
- Alternatively, click the Start button.


- Click the All Apps button.


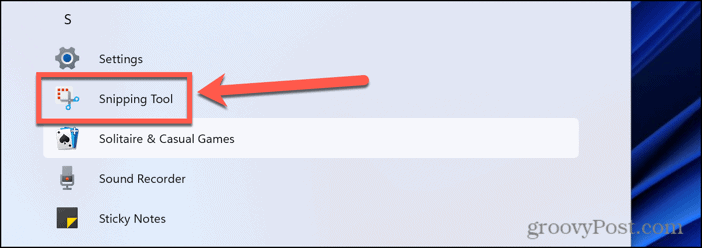
- Select the Snipping Tools app; the apps are listed in alphabetical order.

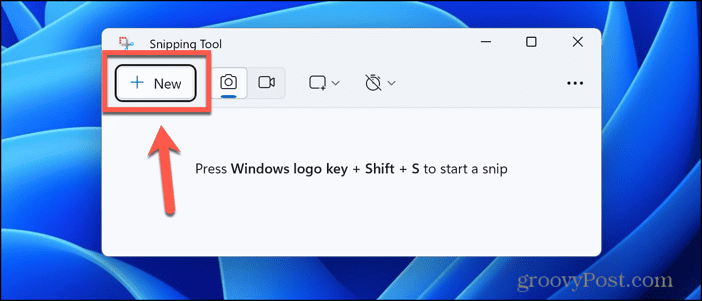
- Click the New button.

- In the toolbar at the top of the screen, click the Rectangular Mode icon.


- Drag out a rectangle over the entire monitor that you want to capture.
- Release the cursor and your selected area is captured and saved in the Pictures > Screenshots folder.
How to Take a Screenshot of a Specific Window Using the Snipping Tool
If you’re using an app in full screen, you can also use the Window Mode option in the Snipping Tool to capture just that specific window. Since the window you’re capturing is filling the entire monitor, in effect, you’re capturing a screenshot of just that monitor. Anything that’s displayed on any other connected monitors won’t be captured. You can also use this method even if the window you’re capturing isn’t in full-screen mode; the result won’t show anything outside the current window, however. Anything else on the same monitor will be cut out of the screenshot.
- Open the Snipping Tool by pressing Win+Shift+S.
- Alternatively, click the Start button.


- In the top-right of the window, click the All Apps button.


- Scroll down and select the Snipping Tool app.


- Click the New button.


- In the toolbar at the top of the screen, click the Windows Mode icon.


- Move the cursor to the window you want to capture and click it.
- The Snipping Tool will take a screenshot of your selected full-screen window.
- You can find the screenshot in the Pictures > Screenshots folder on your computer.
How to Take a Screenshot of One Monitor in Windows by Capturing the Current Window Using Ctrl+Alt+PrtScn
Pressing the PrtScn button in Windows 11 will save a screenshot to the clipboard. However, this screenshot will include everything displayed across all of your monitors. The image will be of each of your screens, stitched together into a single image.
There is an alternative keyboard shortcut that will capture the current window instead. This way you can capture just a specific window from one of your monitors. If the window is in full screen, it will capture the entirety of that monitor, but not any of the other displays. You’re effectively taking a screenshot of just the one monitor in Windows.
- Select the window that you want to capture to ensure that it is the active window. If you want to capture the full dimensions of your monitor, make sure the window is full-screen.
- Click Ctrl+Alt+PrtScn.
- The screenshot is saved to your clipboard.
- Open the Paint app or any other image editing app.
- Press Ctrl+V to paste the screenshot saved in the clipboard.
- You can now save the screenshot in the image editing app that you’re using.
How to Edit a Screenshot of Multiple Monitors in Photos
Another alternative, if you want to capture a screenshot of a single monitor, is to capture one of all your monitors using the PrtScn button and then crop out the parts that you don’t need. If you don’t have a PrtScn button, there are plenty of alternative methods you can use. This is quick and easy to do in the Photos app, leaving you with just a screenshot of one monitor. This is a useful method if you want to capture individual screenshots for each of your monitors; you can repeat the process and crop to a different monitor each time.
- Capture a screenshot of all your monitors by pressing the PrtScn button.
- Navigate to the Pictures > Screenshots folder when your screenshots are saved by default.
- Right-click the screenshot you just took.
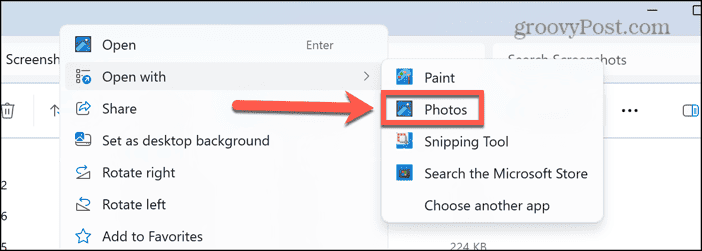
- Select Open With.


- Choose Photos.

- The screenshot will open in Photos, which will include all of your monitors in one image.

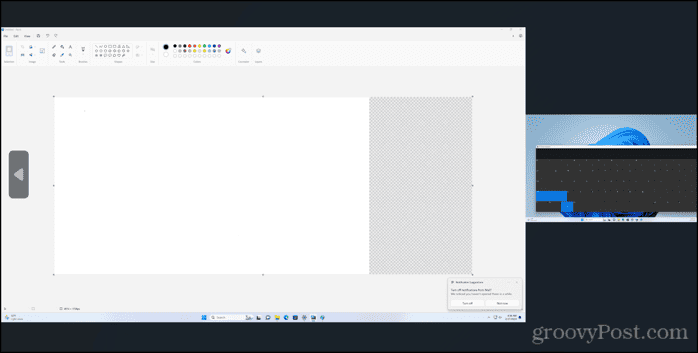
- Click the Edit Image icon at the top of the screen.


- Ensure the Crop tool is selected.


- Use the drag handles to resize the crop window.

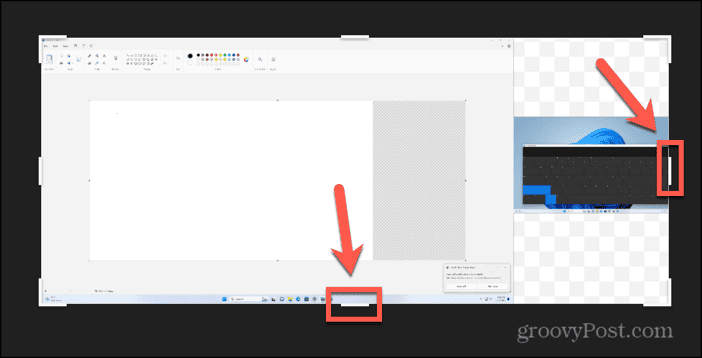
- Select just the monitor that you want to capture.

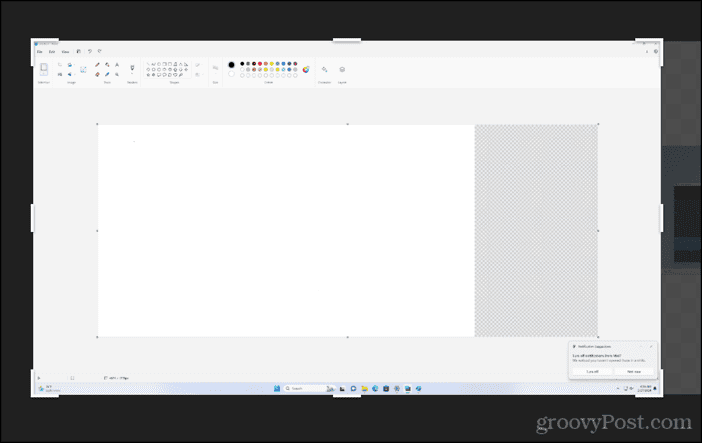
- Click the Save Options button.


- If you only want a screenshot of one monitor, click Save to overwrite your original screenshot with the cropped version.


- If you want to produce screenshots of your other monitors too, click Save a Copy.


- Give your file a name and click Save.
- Repeat the process but this time use the crop tool to select a different monitor.
- You can repeat for as many monitors as you captured.
- You should now have individual screenshots for all of your monitors.
Taking Screenshots with Multiple Monitors
Working with multiple monitors usually makes like much easier, with additional real estate allowing you to work on different apps without having to constantly switch between windows. However, taking screenshots with multiple monitors can be quite a challenge. Knowing how to take a screenshot of only one monitor in Windows 11 using one of the methods above ensures that you can capture the individual monitors you want without including anything displayed on your other monitors. None of the solutions are ideal as they all require a few steps to perform, but you should be able to get the final result that you want.
Leave a Reply
Leave a Reply


