Stay Focused on Your Gaming by Disabling Alt+Tab in Windows 11

When you’re gaming you don’t want to tab away in the middle of the action. Here are some of the best ways of disabling Alt+Tab in Windows 11.
You’re playing Elden Ring on PC because you’re a masochist. You’re going head-to-head with Malenia and are in the zone when suddenly the game disappears from your screen to be replaced by the Spotify app. You’ve somehow managed to press Alt+Tab in your desire to get out of the way of a Scarlet Rot blast. You manage to tab back again, but it’s already too late. It takes all of your self-control not to hurl your keyboard against the wall.
It doesn’t have to be this way. You can remove the risk of tabbing out of your game by turning off the shortcut altogether, at least whilst you’re gaming. If you don’t want to accidentally invoke the Alt+Tab switcher when you’re in the middle of a game, then here are some methods for disabling Alt+Tab in Windows 11.
How to Disable Alt+Tab in Windows 11 Using PowerToys
Microsoft PowerToys is a set of system utilities developed by Microsoft that can be used for free in Windows 11 to add customization and productivity features. One of the tools is a keyboard manager which allows you to customize keyboard shortcuts or change your keyboard layout. You can also use this tool to disable the Alt+Tab shortcut so that you don’t accidentally tab out of your game in the middle of playing.
- Open the Microsoft Store app.
- In the search field, type powertoys.


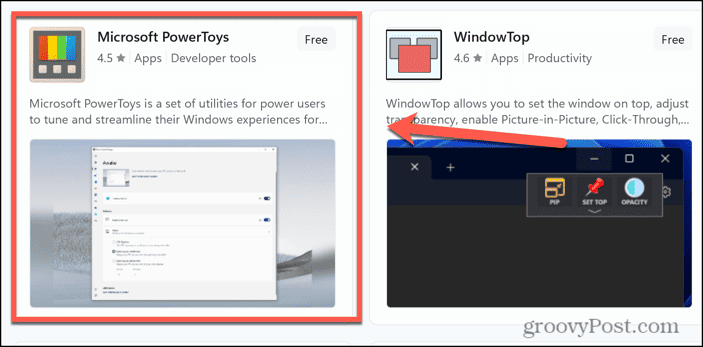
- Select Microsoft PowerToys from the list of results.

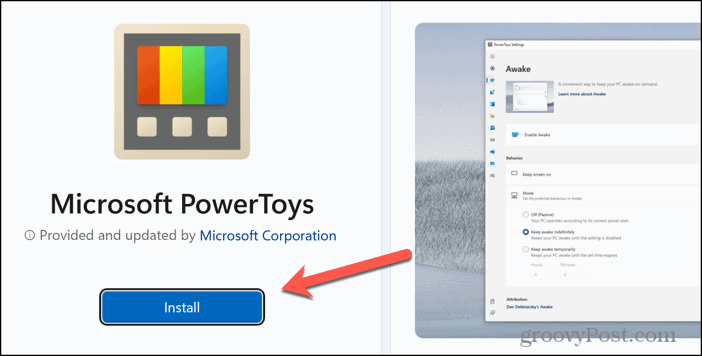
- Click Install.

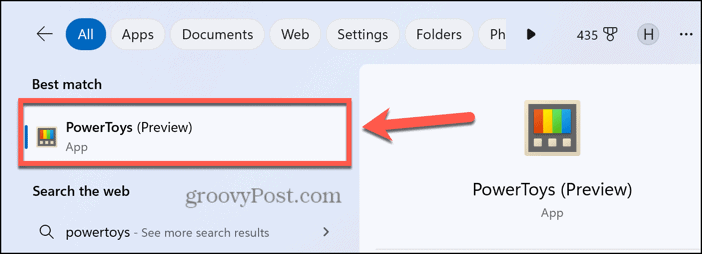
- Once the installation is complete, type powertoys in the search field in the taskbar.


- Click the PowerToys app.

- In the menu to the left of the window, click Keyboard Manager.


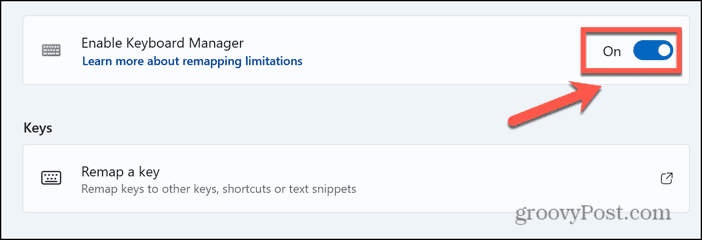
- Toggle Enable Keyboard Manager on.

- Under Shortcuts, click Remap a Shortcut.


- Click the Add a Shortcut Remapping button.


- Click the drop-down under Select.


- Choose Alt from the list of options.

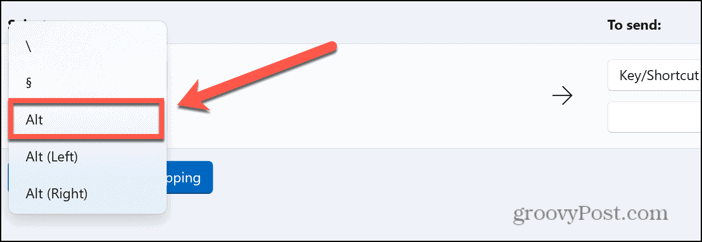
- Click the second drop-down that appears.


- Select Tab from the list of options.


- Under the To Send section, click the bottom drop-down.


- Select Disable, which is at the top of the list of options.


- Click OK and the remapping should save.
- Try pressing Alt+Tab and you should find that nothing happens.
How to Disable Alt+Tab in Windows 11 Using AutoHotkey
You can also disable Alt+Tab in Windows 11 by using AutoHotkey. This is an open-source scripting language for Windows that allows you to create scripts for macros, keyboard shortcuts, or hotkeys. Using AutoHotkey, you can create a simple script that should disable the Alt+Tab shortcut from working.
- Download and install AutoHotkey.
- Once installed, open the AutoHotkey app.
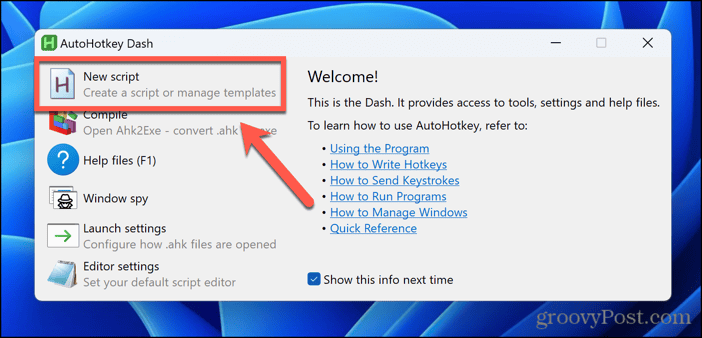
- Click New Script.

- Give the script a name and change the save location if you wish.

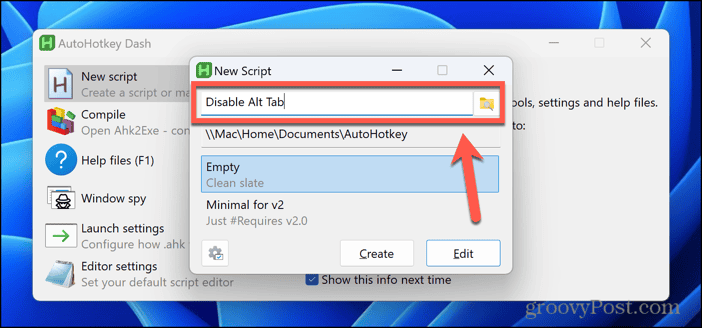
- Click Edit.
- You may need to select your default editor at this point. You can select Notepad or choose a different editor.
- In your editor, type !Tab::return.

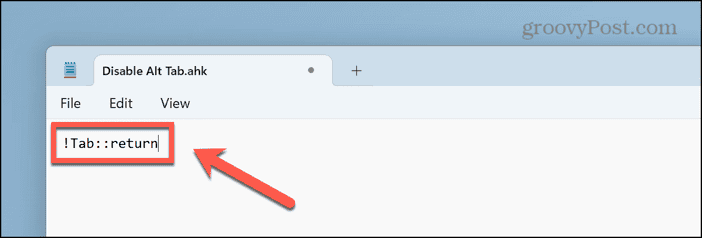
- Save the file.
- Navigate to the location of the script file, right-click it, and select Open.


- The script will start running.
- Try pressing Alt+Tab. You should find that nothing happens.
- To get Alt+Tab working again, right-click the AutoHotkey icon in the system tray.


- Click Suspend Hotkeys.


- Alt+Tab should now work as expected again.
How to Disable Alt+Tab in Windows 11 Using the Registry Editor
Some users have reportedly managed to disable Alt+Tab in Windows 11 by changing some registry settings using Registry Editor. However, when I tried these steps myself, Alt+Tab remained enabled. You can try the steps below for yourself if you wish, although making changes to the registry comes with risks and should only be attempted if you know what you’re doing. For safety’s sake, I would recommend using one of the options above instead, but if you do want to try the steps below, make sure you take a backup of your registry first.
- Press Win+R to open the Run dialog.
- Type regedit and press Enter.


- In the Registry Editor, navigate to HKEY_CURRENT_USER > Control Panel > Desktop.

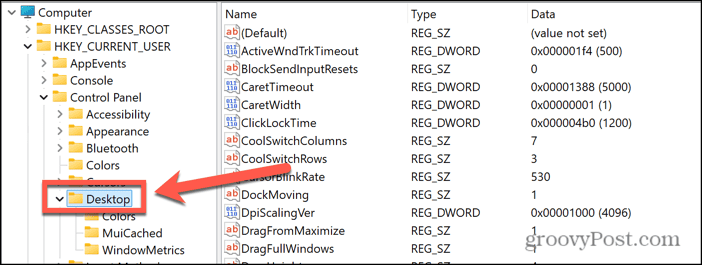
- Double-click the CoolSwitchColumns entry.


- Change the Value Data to 0.
- Click OK.
- Restart your computer.
- See if Alt+Tab is still working.
Disabling Alt+Tab When Gaming
If you’re in the middle of a game that uses keyboard commands that use the Alt key, it’s all too easy to press Alt+Tab by accident and tab out of the game. At best this is annoying, and at worst it could cause you to lose all your hard-earned progress in your current game.
Disabling Alt+Tab in Windows 11 ensures that you don’t accidentally trigger the shortcut by mistake when you’re gaming. Using PowerToys and AutoHotkey both worked for me, but changing the registry had no effect at all, so it’s definitely worth trying those two methods first. If you find any other useful techniques, please let us know in the comments.
Leave a Reply
Leave a Reply


